INSTALLING YOUR S2DELTA M-LOK STEEL or CORE-BALLAST WEIGHTS
BEFORE YOU START
Visually and physically confirm the chamber is empty before doing anything else.
TOOLS NEEDED
- 1/8" hex wrench
- Torque wrench
- Loctite 222 (or equivalent low-strength threadlocker)
INSTALLATION
- Assemble the Hardware
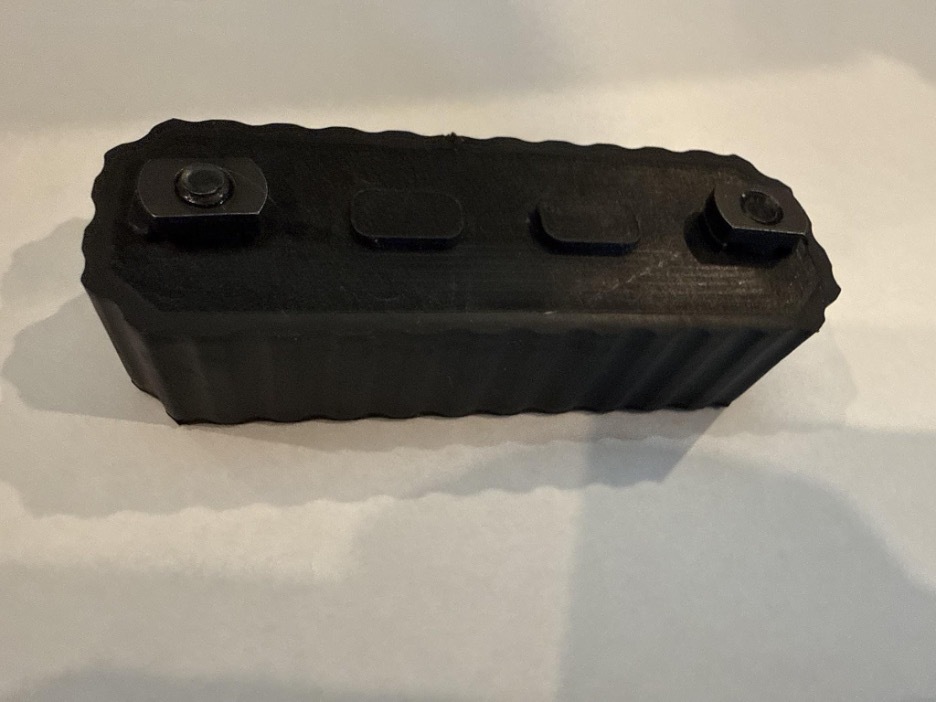
Insert the mounting screw through the top of the accessory. Apply thread locker to tip of threads (unless pre-treated). Thread the T-nut onto the screw from the back. Make sure the ridged locking tabs (the "stem") of the T-nut are facing toward the accessory.
Note: The initial threading might feel tight due to pre-applied thread locker. You can use pliers or a small wrench to hold the T-nut still while you clear the initial friction.
- Adjust for Handguard Thickness
Thread the T-nut down, then loosen it slightly. The gap between the bottom of the accessory and the flat side of the T-nut must be slightly wider than the thickness of your handguard rail. If it is too tight, the nut won’t pass through the slot; if it is too loose, the nut will spin freely without catching.
- Align and Insert
Turn the T-nuts so they align straight (parallel) with the accessory's recoil lugs. Drop the accessory flush into your chosen M-LOK slots. The accessory's built-in recoil lugs should seat entirely inside the slots to prevent forward or backward sliding.
- Tighten and Lock
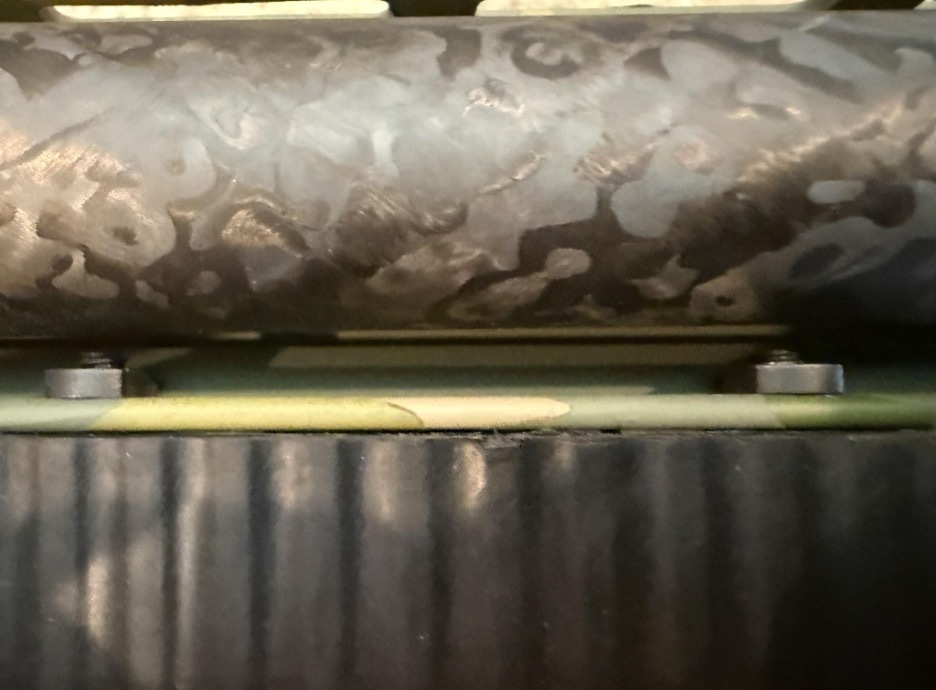
Insert a 1/8" hex wrench into the screw, apply mild downward pressure, and turn clockwise. As you turn, the T-nut will automatically rotate 90 degrees to cross the slot perpendicular to the rail, hitting a hard stop. Continue turning until the screw is hand-tight. If possible, glance through the handguard or side slots to visually verify that the T-nut has fully turned 90 degrees.
- Torque to Specification
Secure the accessory firmly. Follow standard torque guidelines to protect your equipment:
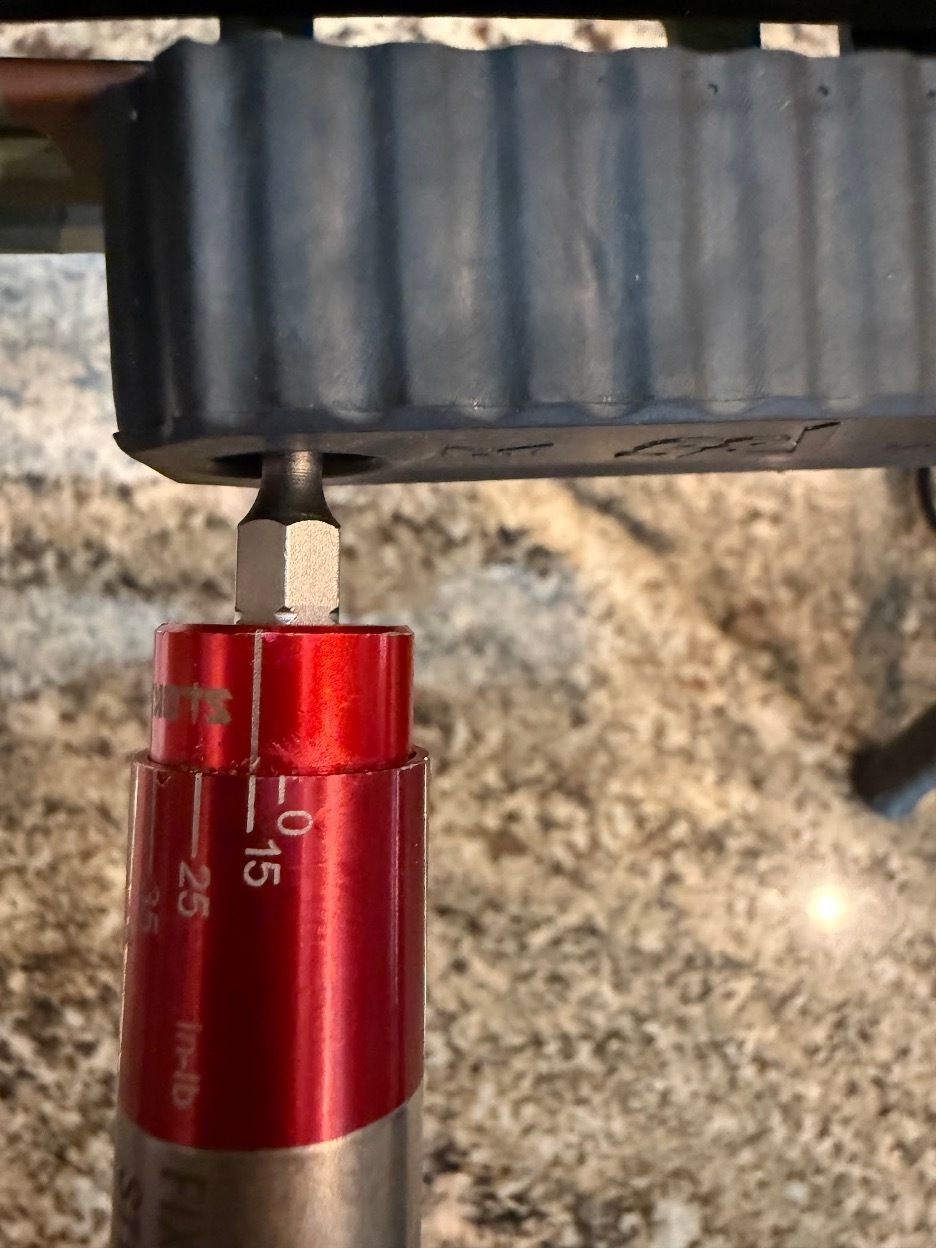
- Solid steel Mlok weight to metal hand guards: 25 in lb
- Ballast-Core Mlok weight to metal Handguards: 15 in-lbs